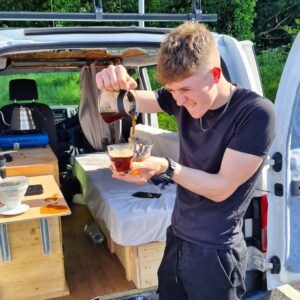

So, the Caffeine monster has taken over, eh?
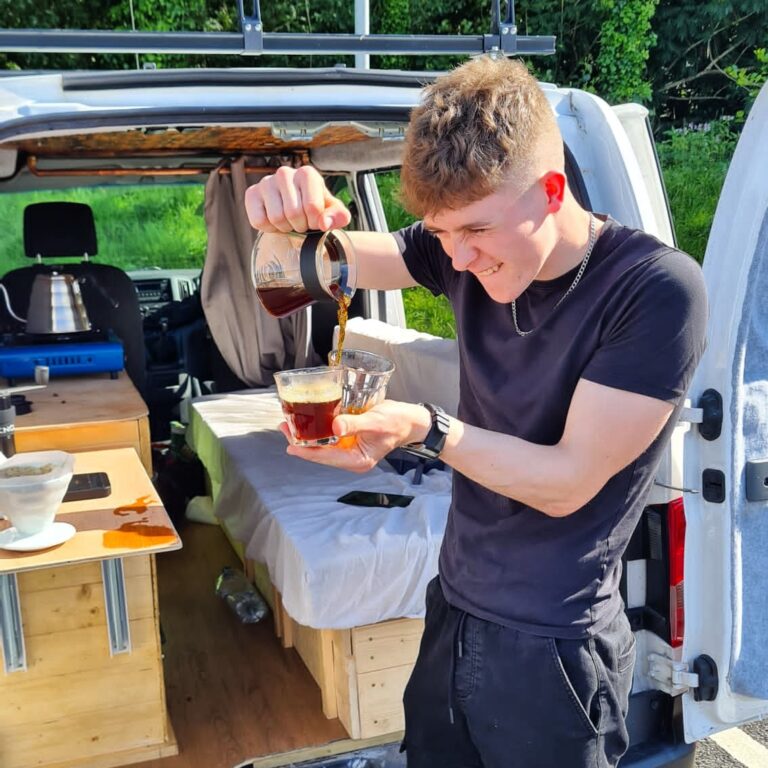
In need of a flat white constantly throughout the day? I feel you… I recently had the idea whilst taking my yearly shower as to how someone would be able to make a flat white without a machine? I mean – the components are pretty easy to come across… One double espresso, and 177ml of hot, perfectly stretched and textured milk, finished with perfect latte art….As someone who frequently finds himself out and off the grid, figuring out how to make a flat white without a machine would be of great significance!So to understand how to make a flat white without a machine, we first have to delve into what a flat white actually is…
What actually is a Flat white?

Flat whites were invented by either the Aussie’s or Kiwi’s in the late 20th century (if you want to start a war, pick a side…) The earliest evidence of a flat white on a menu that I could find was at Moors Espresso bar in Sydney, Australia in 1985.
A flat white basically consists of a double espresso, with 177ml (6oz) of hot milk at roughly 65°c, with thin, silky microfoam, finished with latte art.So, how the bloody hell are you going to make that without a coffee machine?Well, first you’ll need to make espresso.
ESPRESSO
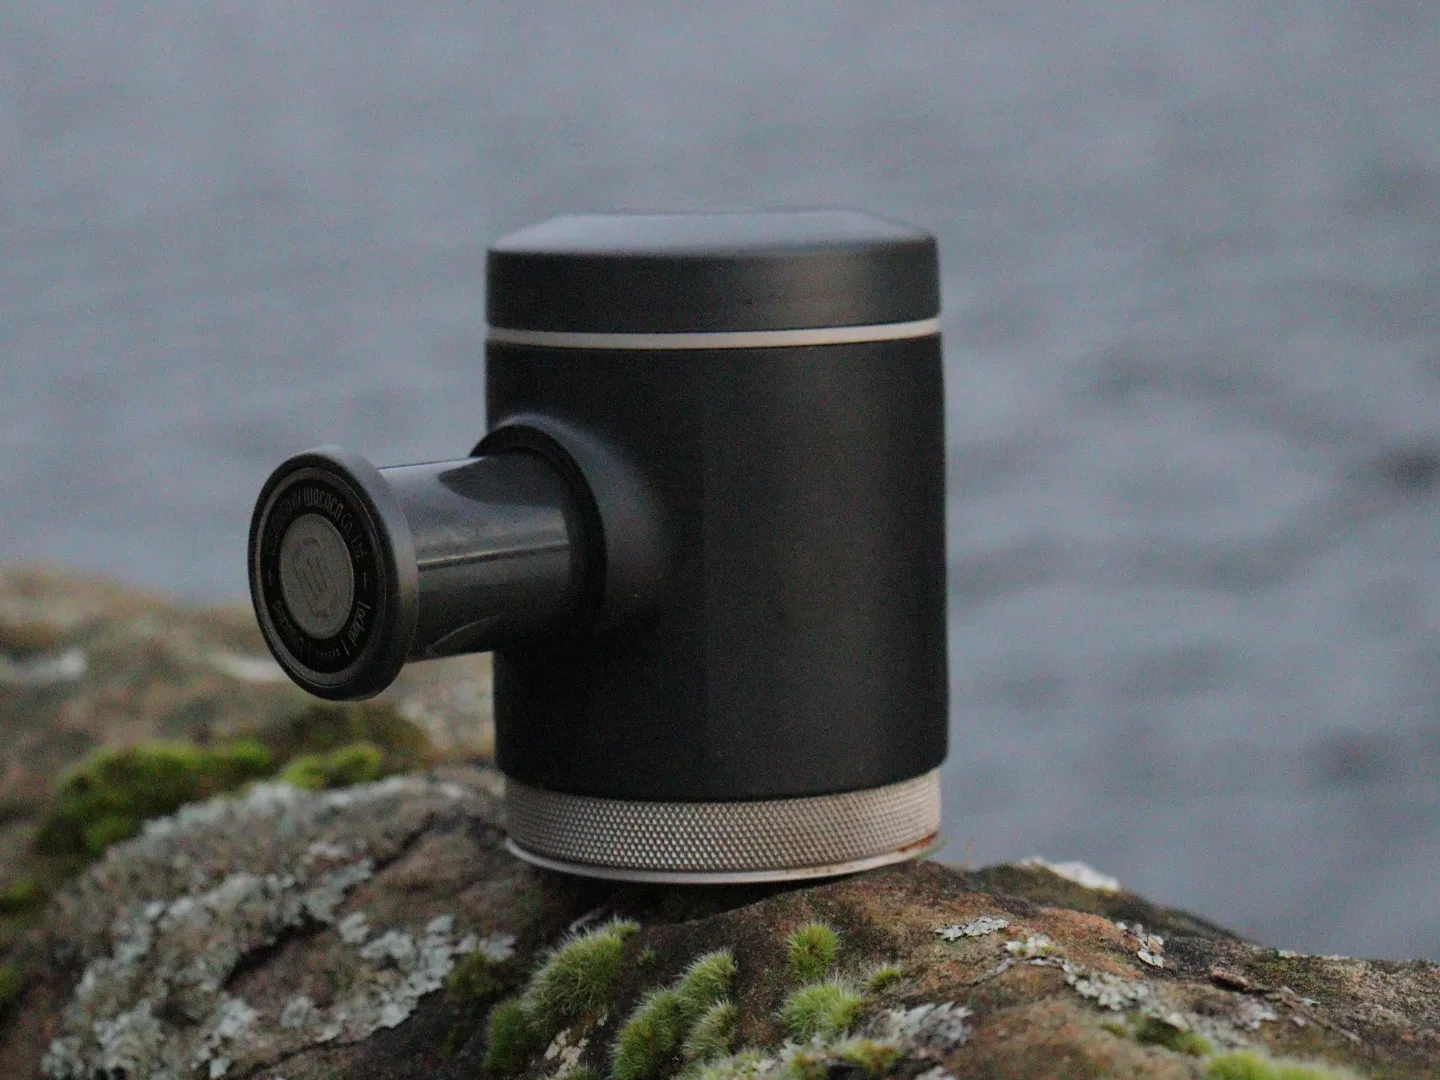
Espresso is the base for the flat white, and the majority of all other milky coffee drinks. The truth is, your flat white is only going to be as good as your espresso is – so making sure that your espresso is as good as possible is going to give you a better flat white.How can we go about this? Well – making sure that you use decent, fresh roasted specialty coffee, that has been well distributed, is freshly ground, and has been ground to the correct grind size for your brew technique is imperative for good espresso. You may be tempted to grab some whole beans or pre ground from Tesco but trust me, get decent coffee and your taste buds will thank you for it.What coffee do I use? Well, it differs, but for this brew I used Kickback coffee’s house blend ‘The Explorer.’ It’s a nutty, bold coffee, that is roasted medium dark, and has taste notes of Nuts, rum and raisin. Its dead forgiving and works wonders for espresso and filter coffee. Thoroughly recommend.Now then, in terms of making espresso without a traditional espresso machine – you’re generally going to find that most alternatives, like the Aeropress ‘prismo’, and things like Moka pots, will give you somewhat espresso-like coffee, being small in volume and relatively strong, but these methods will not give you true espresso.To have a true espresso you’ll need to extract coffee in a 1:2 ratio in a given time – with at least 9 bars of pressure.There are currently very few portable brewers on the market that can give you this ability, but some to note are: The Wacaco Picopresso, Wacaco Minipresso (for nespresso pods), the Nomad espresso maker.All of these are decent options for making espresso, but for this example I’ll be referring to the Wacaco Picopresso as that the one I own and have got some experience in using.
Prep list
Before making espresso on the go – it’s mega important to have all of your equipment with you. This may seem obvious, but I cannot describe to you the pain of getting ready to make a coffee and then realizing that you haven’t brought water, or coffee, or a grinder… or even a cup! Genuinely, it’s enough to create a new super villain.For the sake of simplicity, here is my equipment list for brewing espresso when I’m out and about.
- Coffee (fresh roasted specialty coffee)
- Brewer (Picopresso)
- Water
- Grinder
- Scales
- Kettle
- Stove
- Cups
- Spoon
- Milk/Jug
- Milk frother
- Thermometer
May seem like a load of stuff, but for the most part – all of this can pretty much fit into a rucksack or small box to keep in your car/van.So now that you have all of your equipment, you can begin to prep for making your espresso.Top tip – always brew your espresso first. If you make your milk first it will often separate too much and go way too foamy to pour a flat white before your espresso has been brewed.So then, making espresso with the Picopresso.
I won’t go into too much detail about the ins and outs of the Picopresso, I’ll save that for an up and coming blog post devoted solely to reviewing the Picopresso, but I’ll give you a basic rundown of how to brew with it.
Brewing Espresso with the Picopresso
The recipe I use is 18 grams in to 36 grams out (1:2 ratio) in between 25 and 35 seconds. This seems to be the sweet spot for most medium-light roasted coffee beans. Obviously this will change based on what coffee you’ll use, but you should adjust to taste.First things first, weigh out your beans.As said before, I like to go for 18 grams of coffee in the basket, and a 1:2 ratio (36 grams of espresso). To do this, I’ll take a container and weigh out my beans, I’ll then grind the beans very fine as to aid in the restriction of water flow during the brew, then, take the basket and attach the integrated dosing funnel, before pouring the ground coffee into the basket.Then, I’ll take the needle distribution tool and distribute the coffee grounds to ensure that there are no channels or boulders in the coffee. This will also help to aid in good extraction when we come to brew.Whilst prepping the espresso, I’ll put some water on the boil so that we don’t have to wait ages for a brew.So, leaving the dosing funnel on, I’ll tap the basket gently on a flat surface to flatten the bed of coffee, then, remove the dosing funnel, place the tamper evenly on the bed of coffee, and push down with a decent but even amount of force.Basically – you want to have a nice and symmetrical compacted puck of coffee in the basket.Then you’ll want to pre-heat the brewer. To do this, take your boiling water off the stove, and open up the water reservoir on the Picopresso. Then, pour in enough water to fill the chamber. Proceed to screw the top back on firmly, and then, (without having your coffee in the brewer), pump all of the hot water through the brewhead and either into a bowl, onto the floor, or onto your lap for all I care… Just get rid of it.You’ll also want to pour boiling water into your cup to pre-heat it. This will keep your espresso warm while you go about stretching your milk.After pre-heating the brewer, you’ll want to move pretty quickly to retain heat.Open up the water reservoir and fill it up to the top again with boiling water, screw the top on, and now screw on your coffee basket. Place a cup on a set of scales and position the Picopresso over the cup.
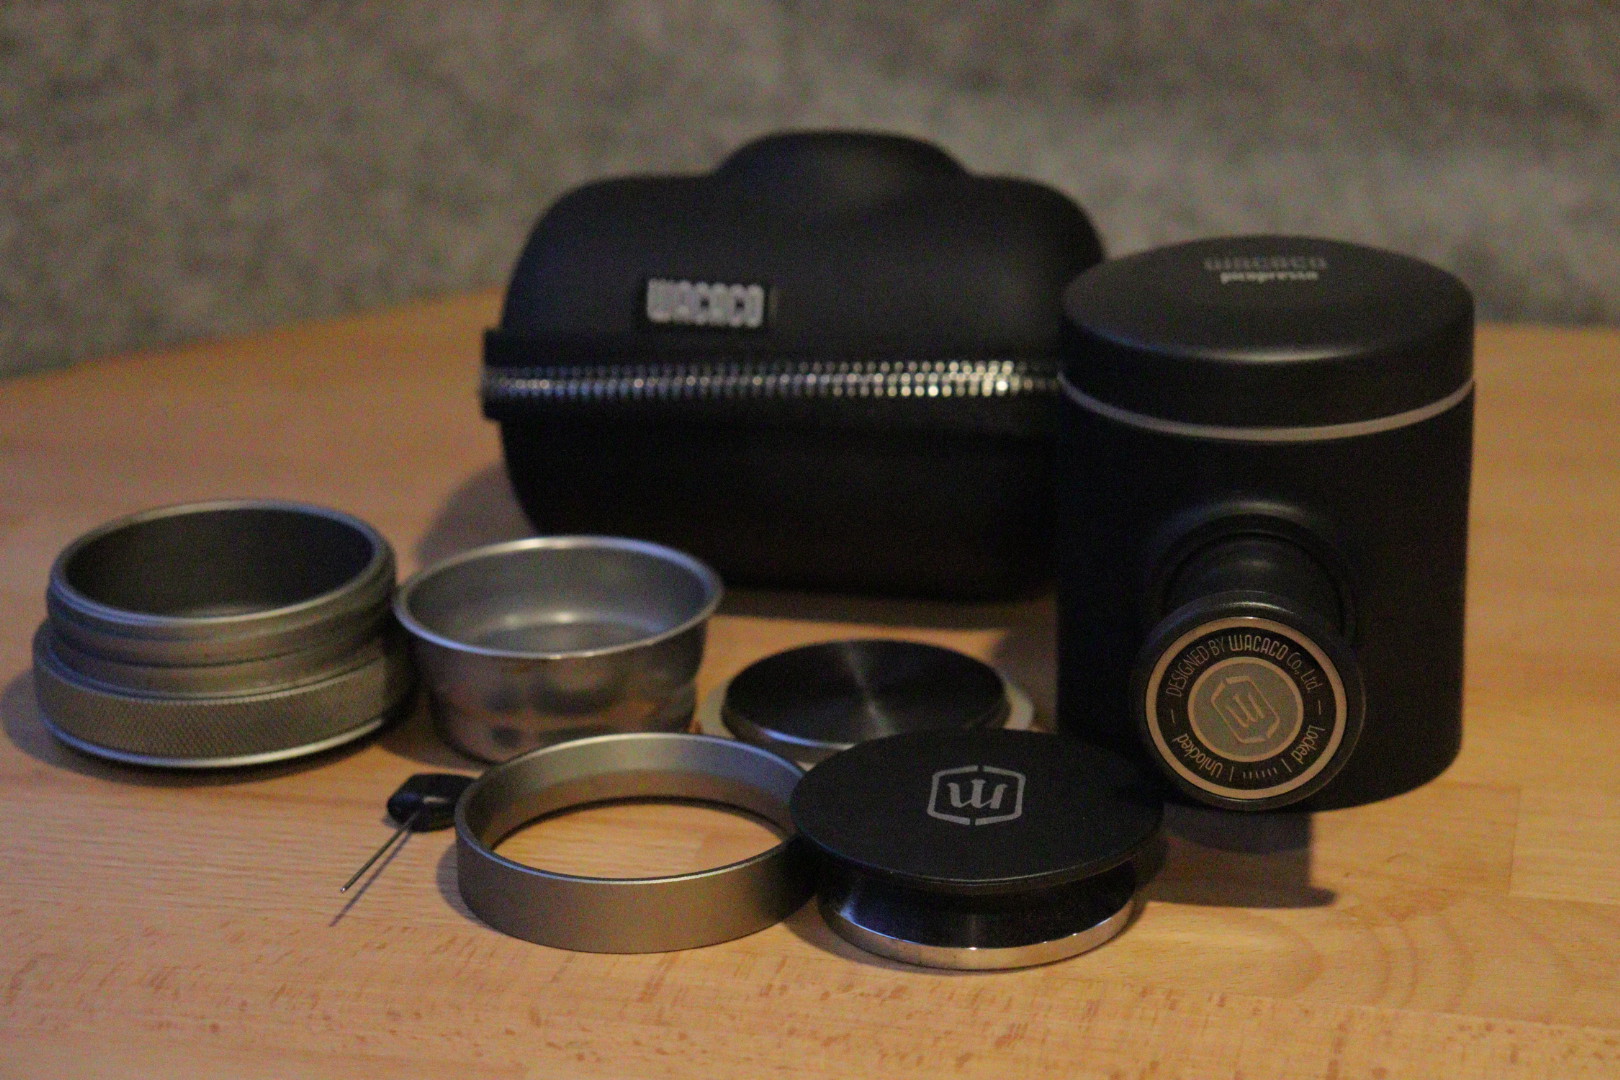
Contents of the Picopresso
Tare off the cup, turn on your timer and then pump the brew lever 8 times, and then leave it for 10 seconds. This is the Pre-insusion stage, which will help in extraction and aid in creating a sweeter, more well balanced espresso.After 10 seconds, resume pumping the brew lever until you have extracted a total of 36 grams of espresso in between 25 and 35 seconds.Be aware that on the first brew you’ll probably have ground your coffee either too fine or too course. If your coffee comes out longer than 35 seconds, change your grinder settings to grind finer, and the opposite is true if your 36 grams of espresso extracts before 25 seconds. This process is a proper ballache, and is the bane of any coffee-nut’s existence… But, no pain no gain right?So then, you now should have a damn good, barista quality espresso… now, milky time.
Prepping the milk
Milk used to be simple. Now you have your choice of 30000 different milks. It seems there are more milk than genders in the 21st century. You’ve got oat milk, soya milk, almond milk, chocolate milk, strawberry milk, rock milk, goat milk, fermented Atlantic prehistoric protoplasmic radioactive squid milk…I’m going to be a little controversial and use whole milk as my milk of choice. Why? Because it stretches better, it holds its shape better and is generally much easier to work with in my opinion compared to milk alternatives.If you do use a milk alternative be aware that the routine I use may well not be optimal for your milk choice, just based on how different milks hold air and react to heat.That being said, with dairy alternatives, you’ll generally want to heat the milk to a cooler temperature (55°c or so), and add more air in the initial aerating phase than you would with regular dairy milk.So then, with that out of the way, here’s how I go about prepping my milk.For stretching (frothing) the milk I’ll be using the Bodum 1446-01 Latteo Milk Frother from Amazon, great bit of kit.
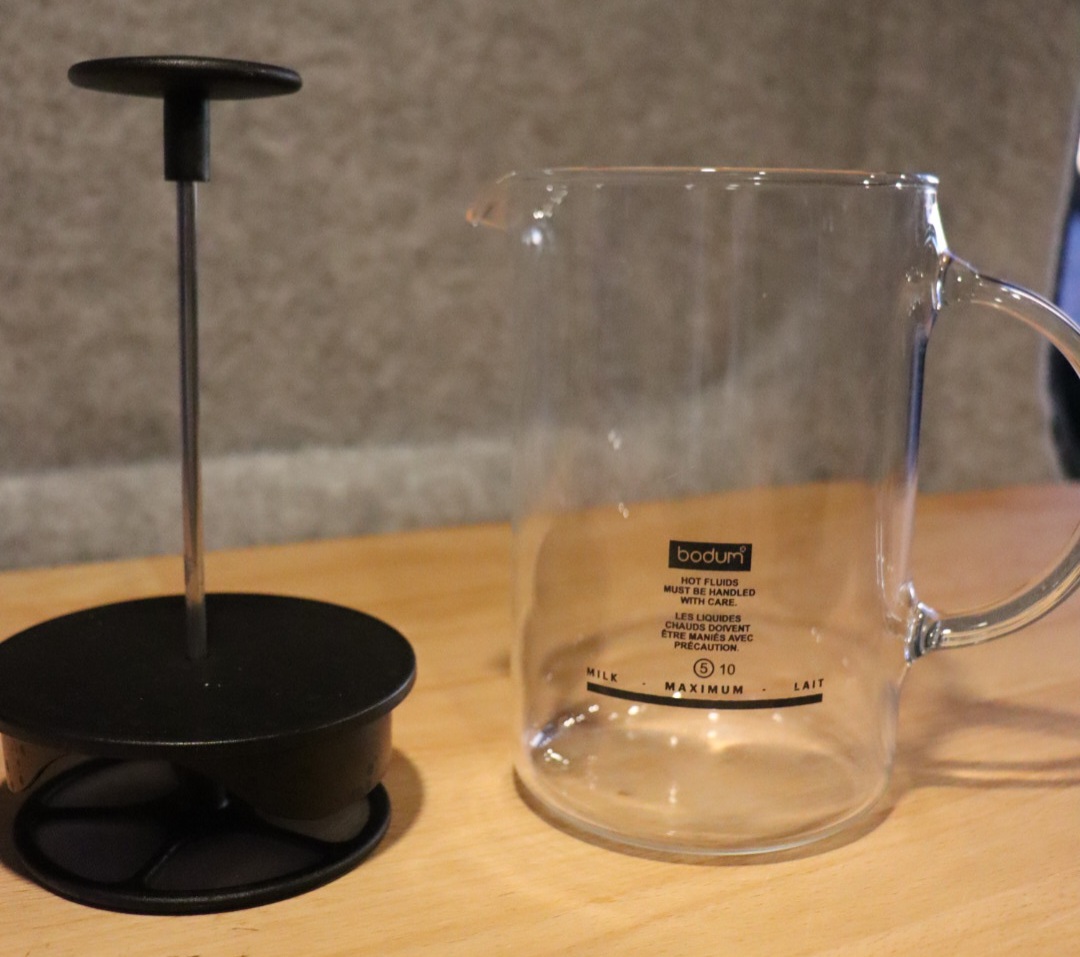
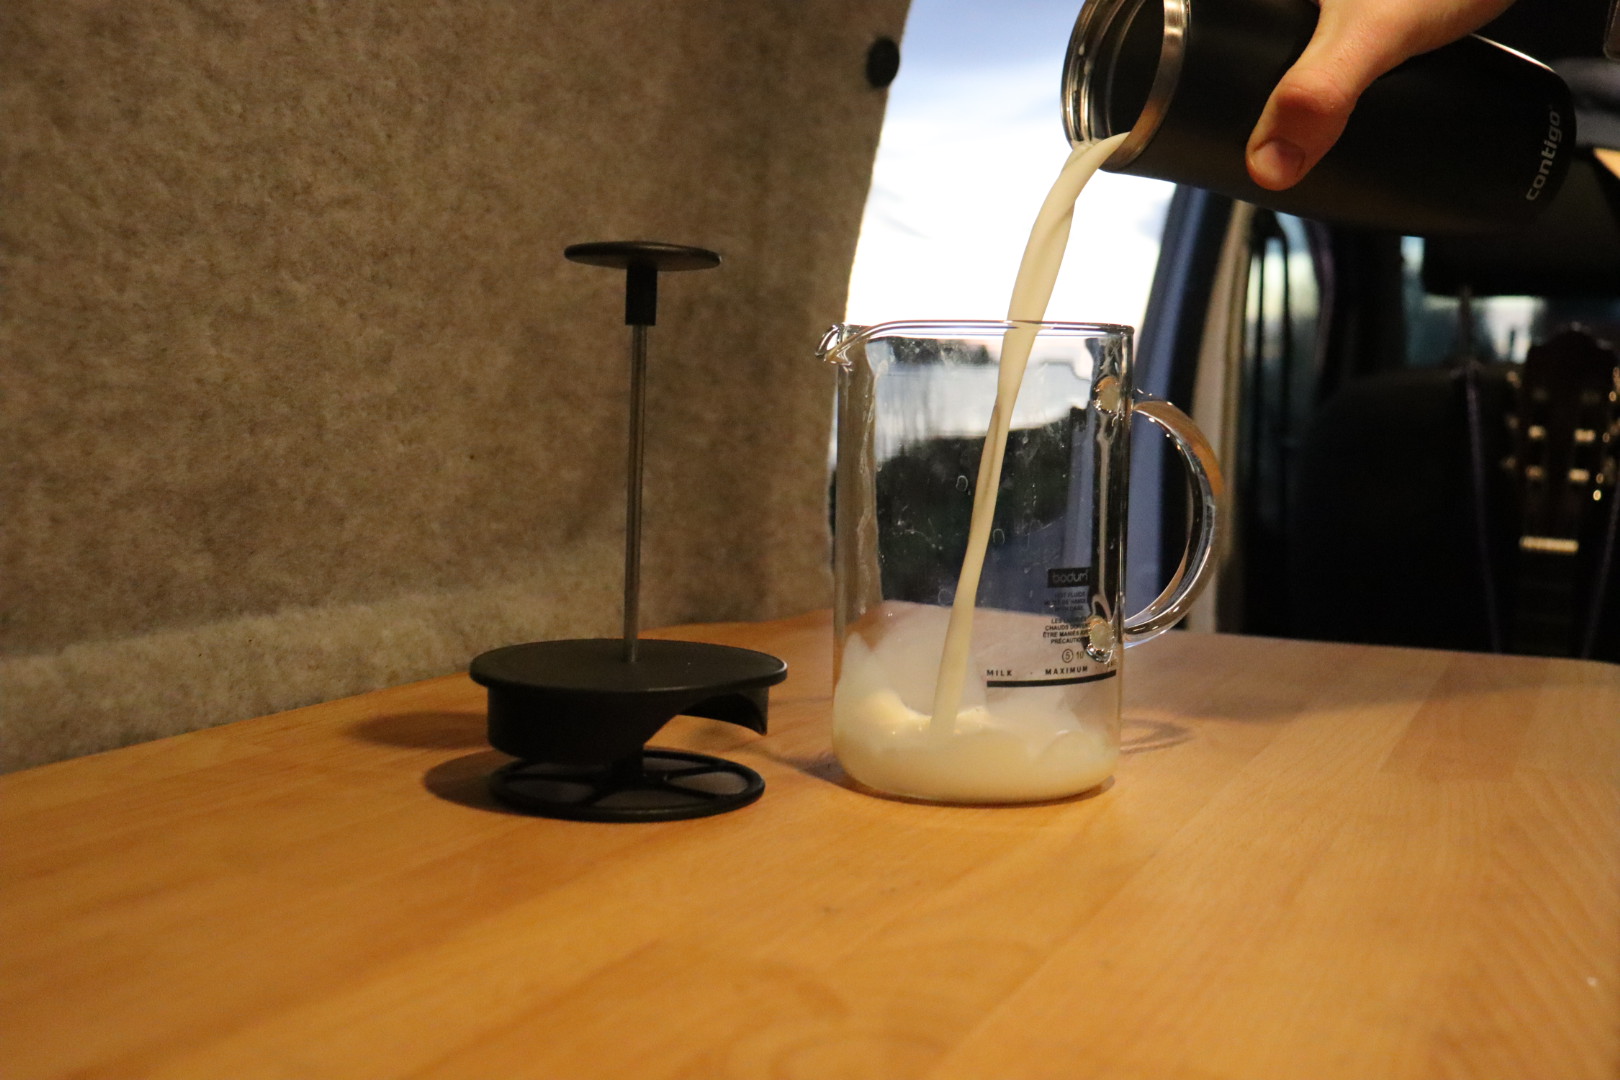
Bodum milk frother
Place a saucepan on the stove, pour in 300ml of milk into the saucepan and heat gently. Place a thermometer in with the milk and heat until you hit between 55°c and 65°c. This is the sweet spot for dairy milk, any hotter and you’ll start to burn off the lactose and you’ll end up with really bitter milk. No bueno.Like I said before, the target for dairy alternatives is around 55°c, so aim for this to preserve the good qualities of your milk alternatives. Also, try and get the Barista version of whatever dairy alternative you use, they tend to be better for making coffee… crazy right?Once your milk has reached the desired temperature, pour the hot milk into the milk further.
Now, I’m going to do my best to explain how I stretch milk with the Bodum Milk Frother but it’s a bit difficult because its very much a physical thing… Bear withSo, for flat white milk, I find that the first 5 to 7 pumps of the plunger have to come from above the milk line, this is to add large milk bubbles to the milk to break down further during the stretching process.After these first 5-7 initial pumps, you’ll want to keep the plunger under the surface of the milk, and pump the plunger up and down until you break all of the big bubbles down into silky microfoam.
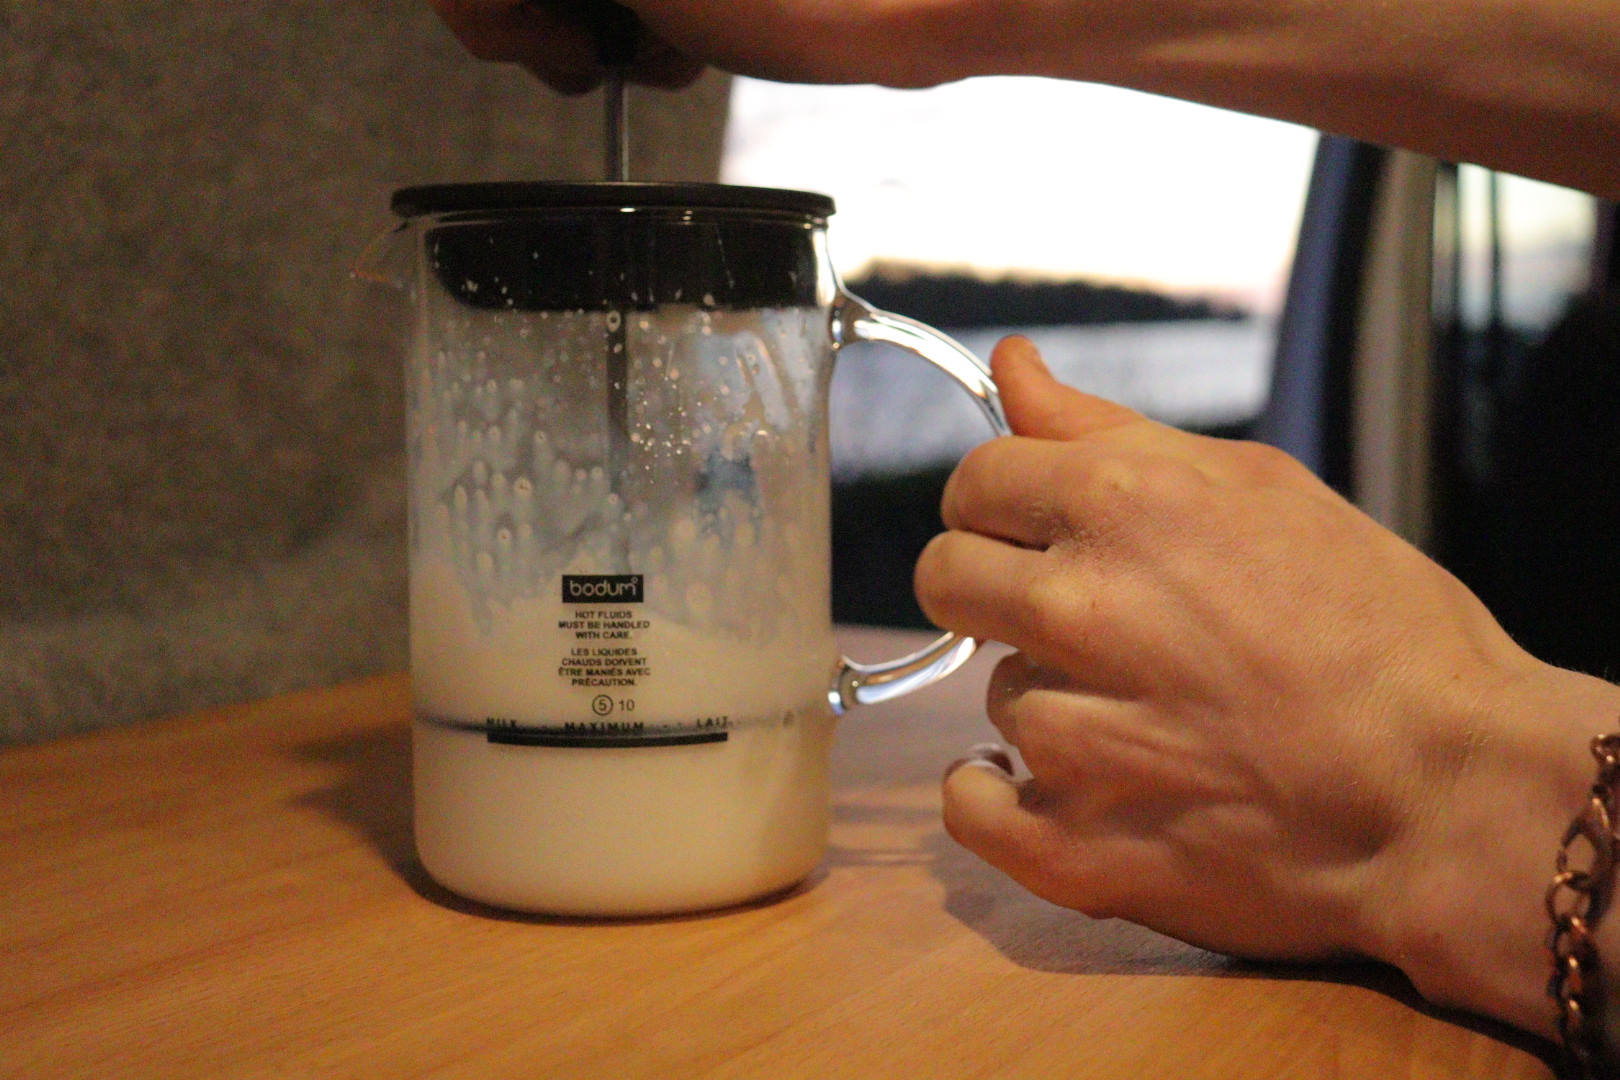
You want the milk to begin to look shiny, and still very liquid. If it looks like shaving foam you’ve gone too far.Next, you’ll want to transfer the milk into a jug / pitcher. My favorite jug for latte art is the Rhinowares 20oz milk pitcher, thoroughly recommend. Mega affordable and built like a tank. I’ve used loads of different milk jugs in my time as a Barista, ranging from £100 Nastyjugs’ down to the cheapest pitchers. By far, I find the Rhinowares 20oz pitcher the most versatile and best value for money.Once you have transferred the milk into the jug, swirl and knock the jug on a flat surface in order to pop any large bubbles that remain, and texture the milk. You’re looking for milk with the consistency of gloss paint.Once you’ve achieved this, you’re ready to pour!Now, If you’re not fussed about latte art, just pour the milk in with the espresso and you’re laughing. But, for those of you who still like to have fun – here’s my guide!
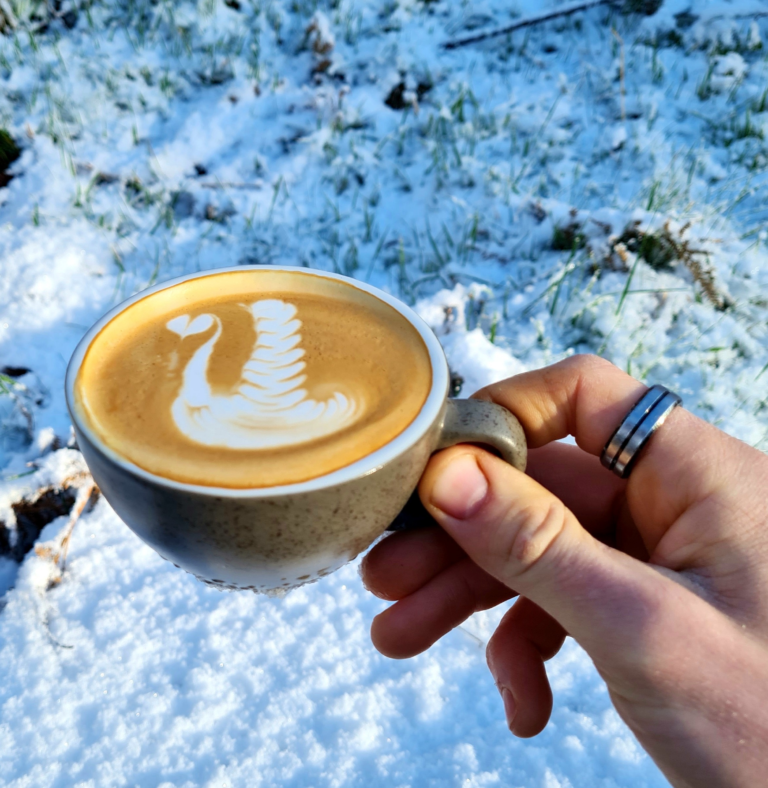
Pouring latte art
Unless you’ve worked in and around coffee for a while, or have some prior experience with coffee, latte art can be very difficult, even for the pros. I’ve had my fair share of lid-on coffee’s (the term barista’s use to define shitty latte art… stick a lid on it ASAP so nobody sees..)Regardless of this, pretty much all latte art boils down to one simple design – the love heart.So, how does one pour a love heart?Well, first you want to hold your cup from the bottom, with the handle of the cup pointing up your forearm. This will ensure that the latte art will be facing the correct way when complete.Hold the cup at a 45° angle towards the jug, and pour a small amount into the espresso. Then, youll want to swirl the espresso until the milk forms a uniform colour and texture. This is called laying the base, and will be the canvas on which you will pour your latte art.Next, you’ll want to pour at a steady pace until the cup is ¾ full. Then, you can pour the latte art.Bring the tip of the jug as close as possible to the centre of the cup, and pour quickly and confidently into the center. You should see a blob of white microfoam forming on the top of the coffee. When the cup is nearly full, tilt the angle of the cup so that it is level agan, and whilst continuing to pour, raise the jug slightly and push the stream of milk through the center of the ‘blob’, forming a perfect-ish loveheart.Don’t be disheartened (heh) if your latte art looks a bit… unique… at the end of the day its just a cup of F*cking coffee, who cares!The important thing is that you get the milk texture right, not too wet, not too foamy, and just the right tempuriture. If you mix that with espresso in an 8oz cup, you will have a flat white.So, stick a picture of your offroad flat white on the old instagram and tag me @brewsandviews.yt, I want to see how you do and where you brew!Next step? Sit back and chill with the safe and certain knowledge that you are enjoying a flat white without using an espresso machine, well done – you’ve beat the system!Until some coffee machine company comes up with some kind of portable manual espresso machine with milk steaming capabilities, this may well be your best option, and to be honest, I really enjoy the rediculousness of it! Plus, you feel as if you’ve earned it…The drawbacks of this method is that it is pretty time consuming, you’re looking at at least a 10-15 minute job. Additionally, there is quite a bit of clean up, not so bad if you have access to a sink, but if you’re on the move in a van for example, it can get a wee bit messy… But, I suppose the impracticality of making a flat white in places where flat whites aren’t supposed to be made has these inherant issues, but maybe thaese issues make creating the perfect flat white all the more enjoyable, eh?If you’ve got to the end of this post and come to the conclusion that this is way too laborious, and you’d rather just have a black coffee, I get you… Luckily, I have a post comparing the V60 to the Aeropress for Vanlife, so maybe give that a read next!Let me know what you think about my manual flat white making idea, send me some pictures and tell me how it went and where you made yours in the comments box below this post!Ta-Ta!