

Picture this for a moment.
You awaken on a crisp spring morning. The chilly April air refreshes your lungs as you take the first breath of a new day.
You unzip your sleeping bag, slide open the side door, and gaze out at the awe-inspiring sunrise over the rugged and rolling British countryside – your eyes still adjusting to the view.
Your lips dry, your brain hazy. You need coffee.
What better way to make your morning than a nice, perfectly extracted, warm, sweet, flavoursome coffee… Shame you only packed some crappy Nescafe instant Shiite, isn’t it… eh?… You gargantuan dingleberry.
I’ve been in this situation before. Not a nice place to be. Let me try and change that for you.
In case you’re relatively new to the whole pretentious coffee wanker scene that has engulfed the world, there are quite a few different ways of brewing your coffee on the go. Products like the Aeropress allow you to brew coffee pretty much anywhere, making decent coffee more easily accessible when you’re out on the roads or up in the mountains.
More and more people are adding these products to their adventure kits – but does this portability necessarily mean that it’s the best coffee for Van life?
Recently I’ve been delving into the never-ending hole that is filter coffee. Working in a specialty shop in South Manchester, I have to say that I’m pretty ashamed that it has taken me this long to get into it.
From the outside looking in, it seems pretty trivial. Just black coffee – not all that interesting. However, this is very much not the case.
I’ve been a flat white drinker religiously, every day, for the past 2 years or so. By far the drink of choice.
In May, I just about finished converting my van into a camper (Post on the way), and one of the first obstacles that I had to hurdle was the fact that once out in the provinces -my daily flat white would become much more of a struggle to acquire.
As someone who (up until that point) viewed black coffee as substandard, this kinda bummed me out. Seeing that nobody has yet to master the art of curating a camping stove espresso machine with integrated steaming apparatus (business idea there), I figured filter coffee was the best alternative.
Now – if you know about the world of coffee, and especially the world of portable brewers, you’ll probably be a bit confused as to why anyone would prefer to take a V60 out over say an Aeropress… and you may be right. Products like the Aeropress are much easier to use, and much more portable – perfect for sticking in a rucksack or glove box, ready for your trip.
I suppose it all depends on what you want to get out of your coffee. If you just want a bump of energy and warmth, then maybe instant coffee is for you. Maybe you value the simplicity and speed of the cafetiere for your outdoor brews, or the bolder, more intense flavours of a Moka pot. and that is fine. But for me, the main rivalry is between the V60 and Aeropress.
The Aeropress
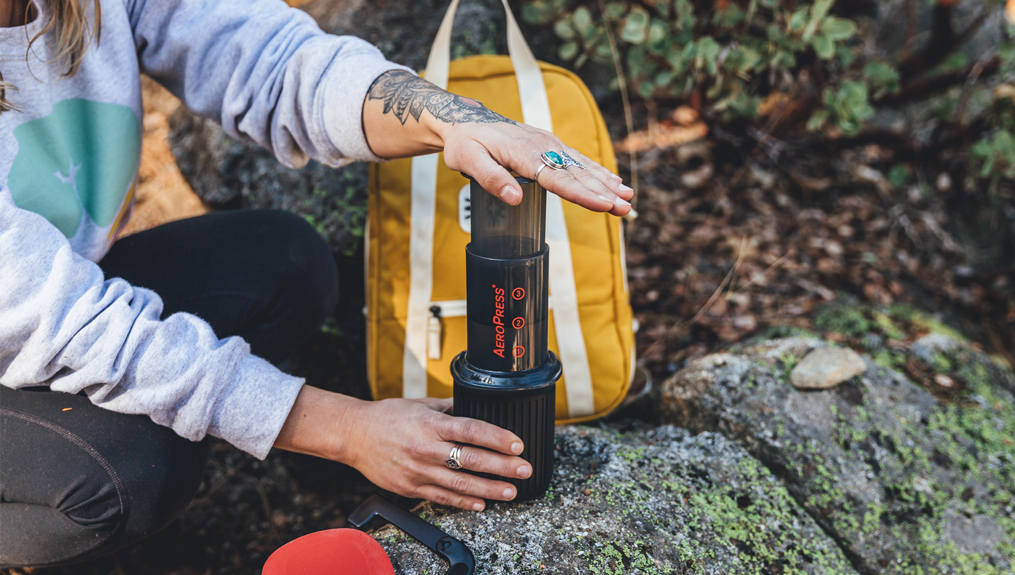
The Aeropress, as briefly mentioned before, is pretty much the backpacker’s dream. It’s mega lightweight, foolproof, and borderline indestructible. I often throw my ‘Aeropress Go’ into my hiking bag before I trek up into the peak district.
The Aeropress was given its name by God at the beginning of time. Named after the Air, which is what it feels like in your backpack, and the press-ing motion you do to extract your brew.
Fun fact – The guy who created the Aeropress is the same guy who created the Frizbee!
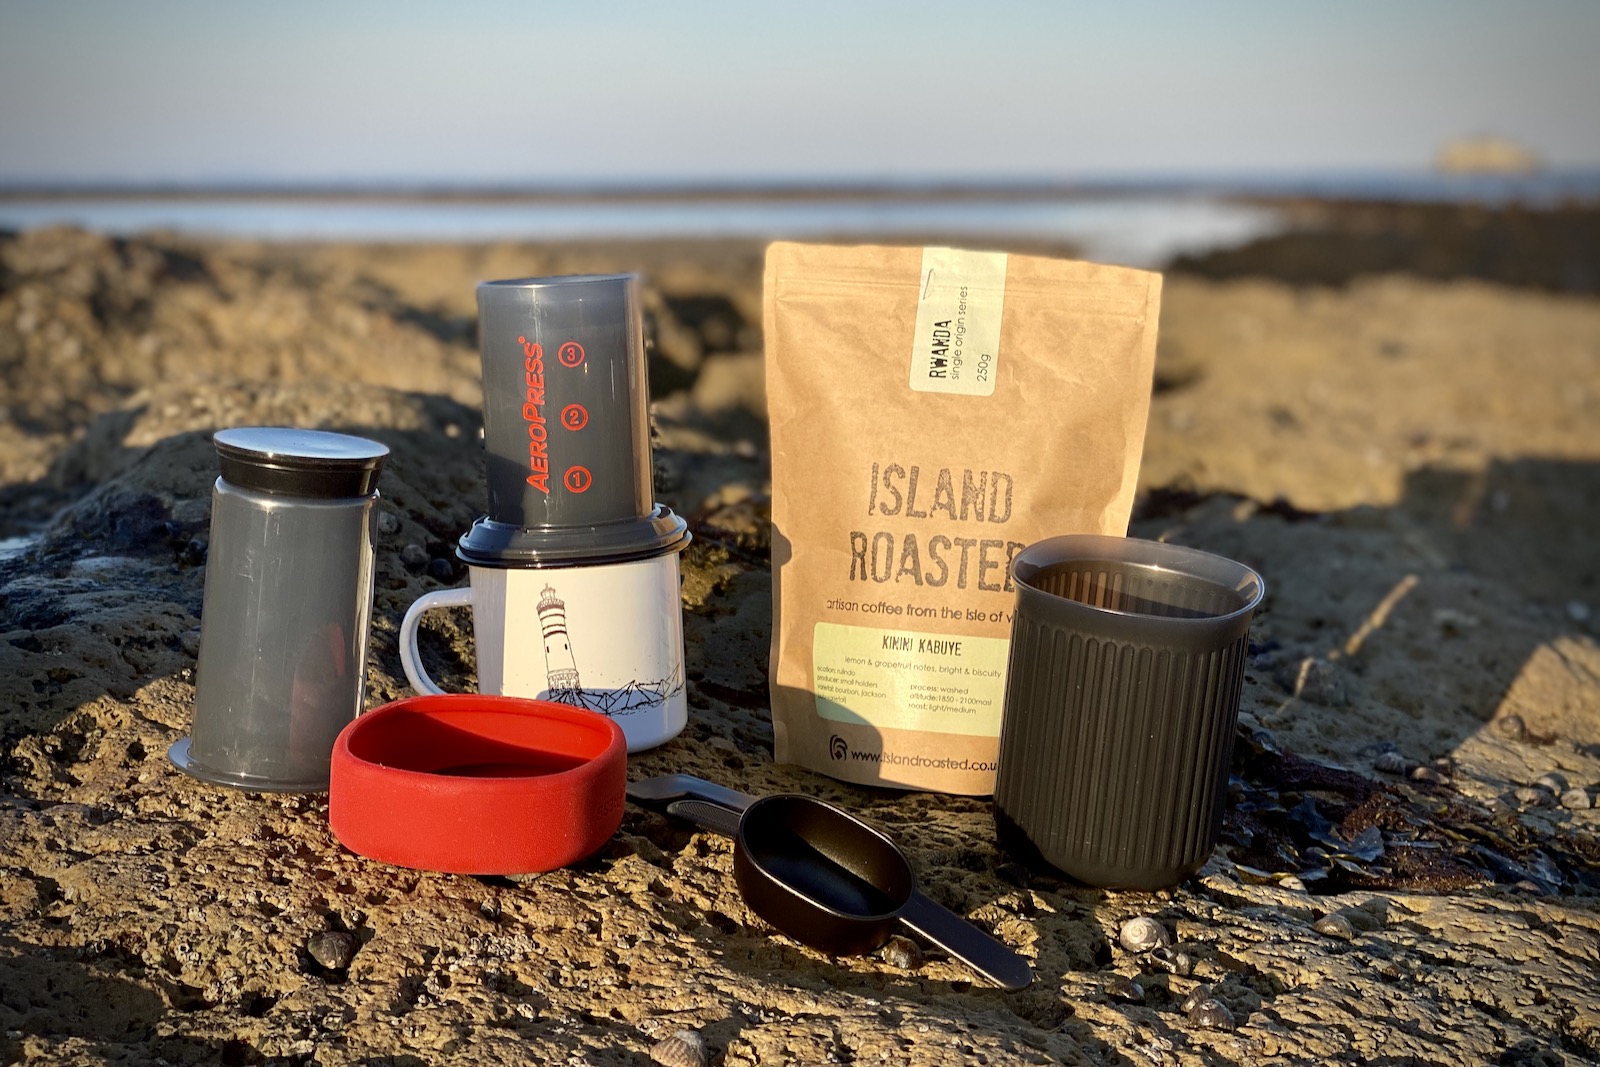
All you need to do to enjoy an Aeropress coffee when you’re out and about in the sticks is your Aeropress (and filters), some decent freshly ground coffee, and hot water.
The brewer is composed of three main parts – the brew chamber, the filter basket, the plunger (and the cup for the Aeropress- go) along with a few other bits which I will get into momentarily.
As briefly mentioned earlier, the Aeropress comes in two flavours – big and small… well, kinda. The standard Aeropress and the Aeropress Go. The former has a capacity of 250ml, which is just slightly more than one standard cup of coffee (10oz), and the Go has a capacity of 237ml (8oz) which is slightly less than you’d expect for a cup of coffee.
The standard Aeropress comes along with a scoop that holds around 14 grams of coffee when heaped, a stirrer, a funnel, and a filter holder that comes complete with a box of 350 filters.
The Go comes along with an integrated mug, a collapsible stirrer, a small filter holder (with a box of 350 filters), and a smaller scoop which also holds around 14 grams of coffee when heaped.
The standard Aeropress doesn’t take up much more room than a regular water bottle, at 14cm X11cm X10cm, although this doesn’t take into account all of the other components, not to mention the cup you’ll have to brew with… Quite a big deal if you’re space restricted. The Aeropress Go is only marginally smaller at 14cm X10cm X10cm, but contains all the components together and with an integrated cup.
Nifty bit of kit.
The recipe I use is 15 grams of medium/fine ground coffee, to 200 millilitres of water, in a brew time of roughly 3 minutes (including the time it takes to press). You can’t really go wrong with this.
Aeropress Brew Recipe
This recipe concerns the inverted method.
- add 11 grams of coffee (slightly less than one heaped scoop) to the brew chamber
- add 50ml of boiling water to the coffee, and stir. Let sit for 30 seconds
- add the remaining 150ml of water, and brew until 2:30 seconds
- rinse the paper filter, attach the filter basket to the brew chamber
- place onto your cup, and press down. complete brew between 3:00 and 3:30
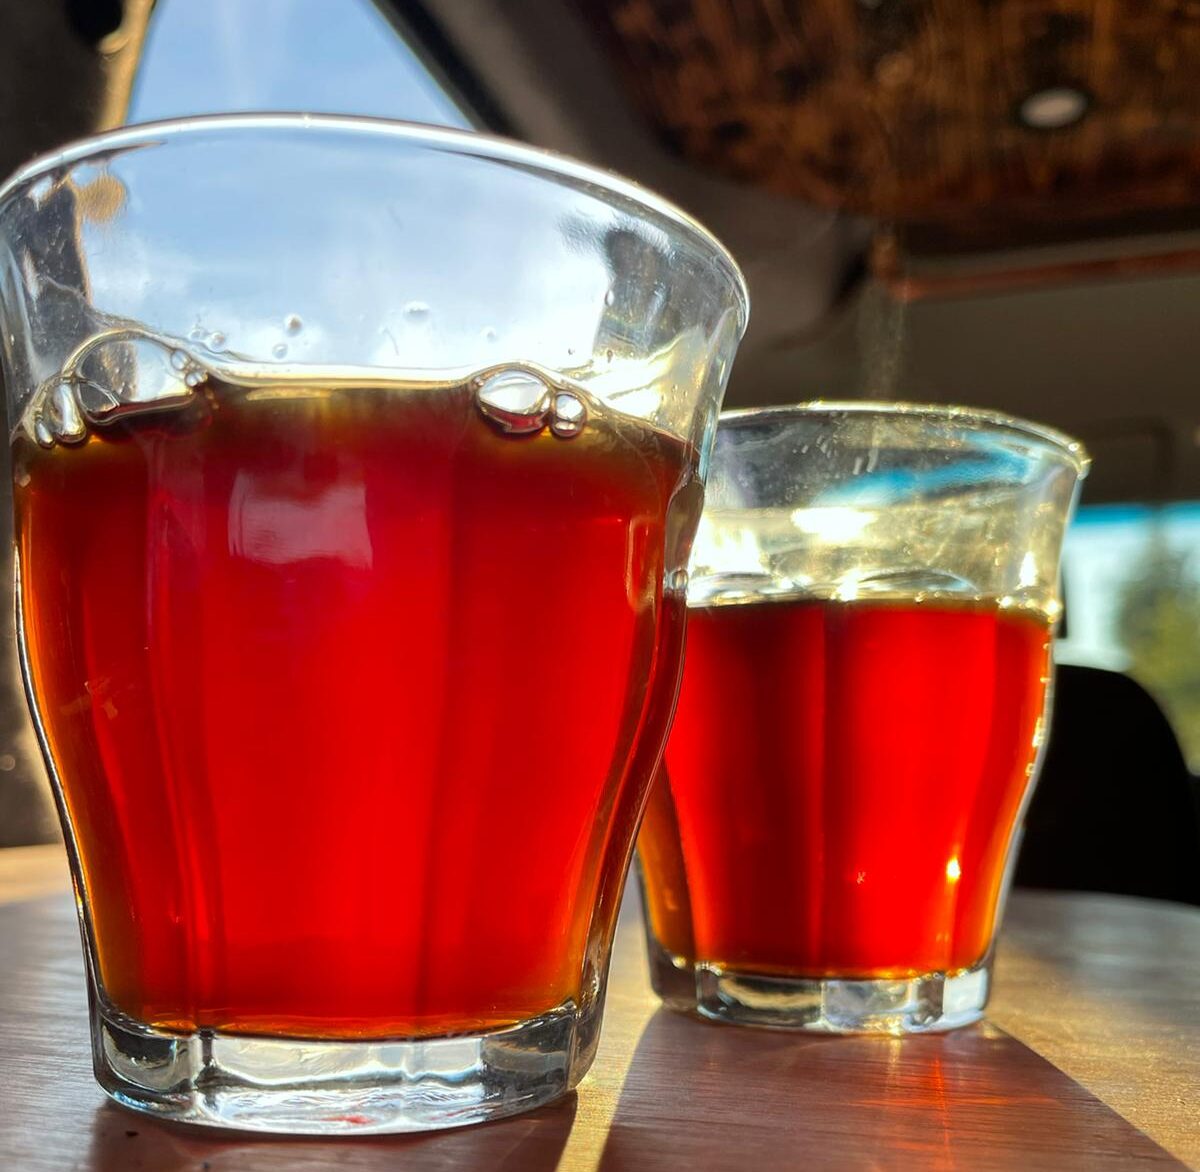
This recipe should give you a sweet, floral and full-bodied coffee.
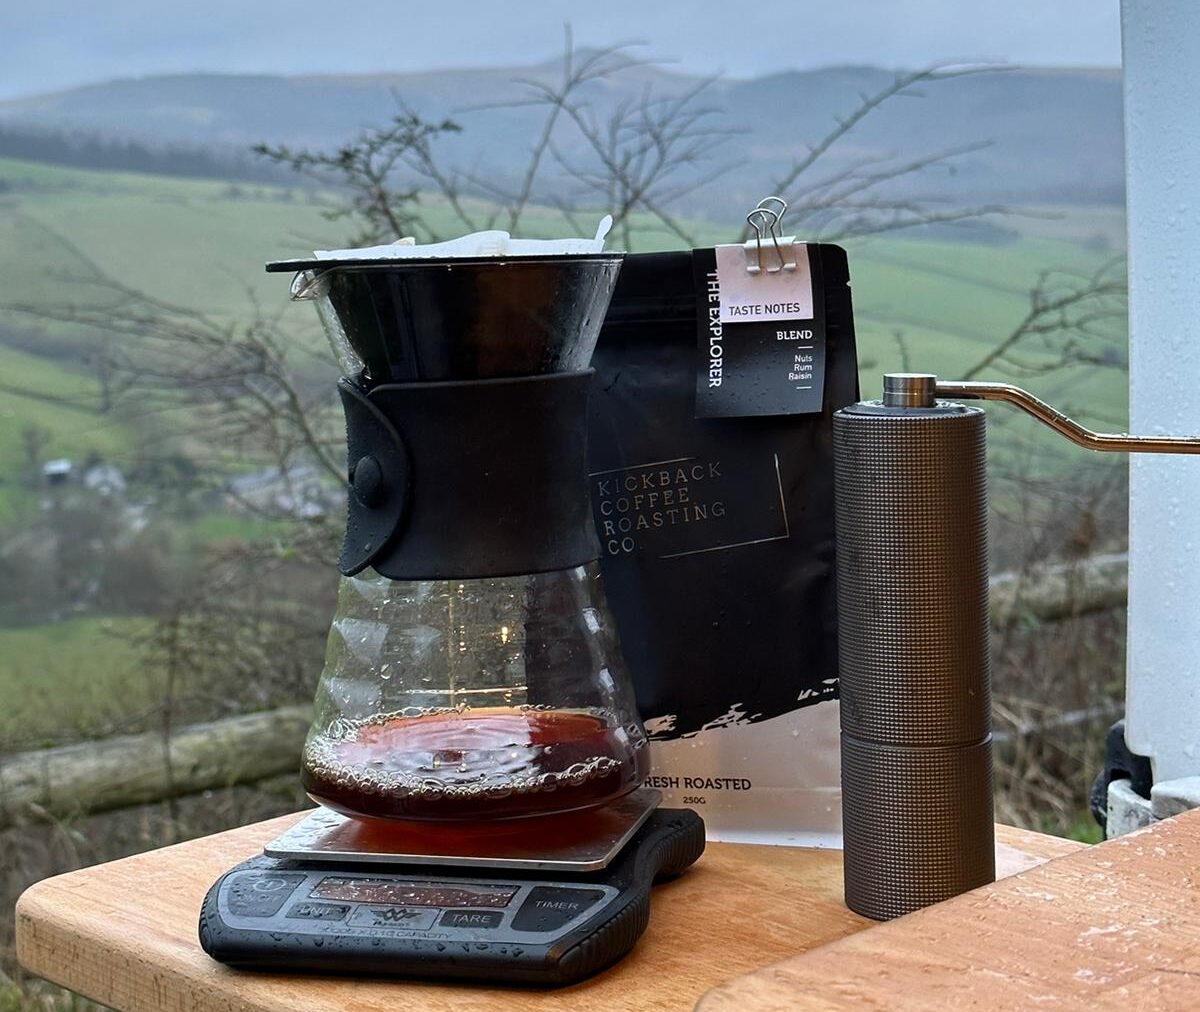
I’ve really been enjoying Kickback Coffee’s “The Explorer” for my brews at the moment, which I guess is a fitting name for a coffee being brewed on the side of a Mountain or something… It goes great with the Aeropress and V60 alike.
My Views on the Aeropress
For me, it all boils down to what you plan on using it for. Does it work well for van travel? Yes. But, is it optimal?
If you take your van out to the wilderness and plan on not only using your Aeropress in the van but also about in the great outdoors, I would thoroughly recommend the Aeropress Go over the V60 and standard Aeropress. Its versatility and convenience make it a no-brainer. The fact that it comes perfectly packaged in its own little home, and takes seconds to set up, and will have you sipping liquid gold in less than 4 minutes makes it pretty much perfect.
So, Aeropress is perfect for taking with you on your ventures to the great outdoors. But what about the V60?
What actually is a V60?

In essence, a V60 is a filter coffee brew method which consists of a V-shaped brewer with a hole at the bottom. You place a V60 filter into the brewer, place your coffee in the middle, and pour almost boiling water over the ground coffee, and allow it to drain through into your mug or server.
The V60 gets its name from the angle of the walls of the brewer, 60°, and its shape (a ‘V’). The concept is pretty simple…
It takes a little more work than the Aeropress, and can be a bit more of a ballache to cart around (especially if you use a glass server), but in my opinion, no filter coffee even compares to what you can get out of a V60 if you spend the time to get things right.
The equipment you’ll need if you want to get the most out of your V60 are as follows:
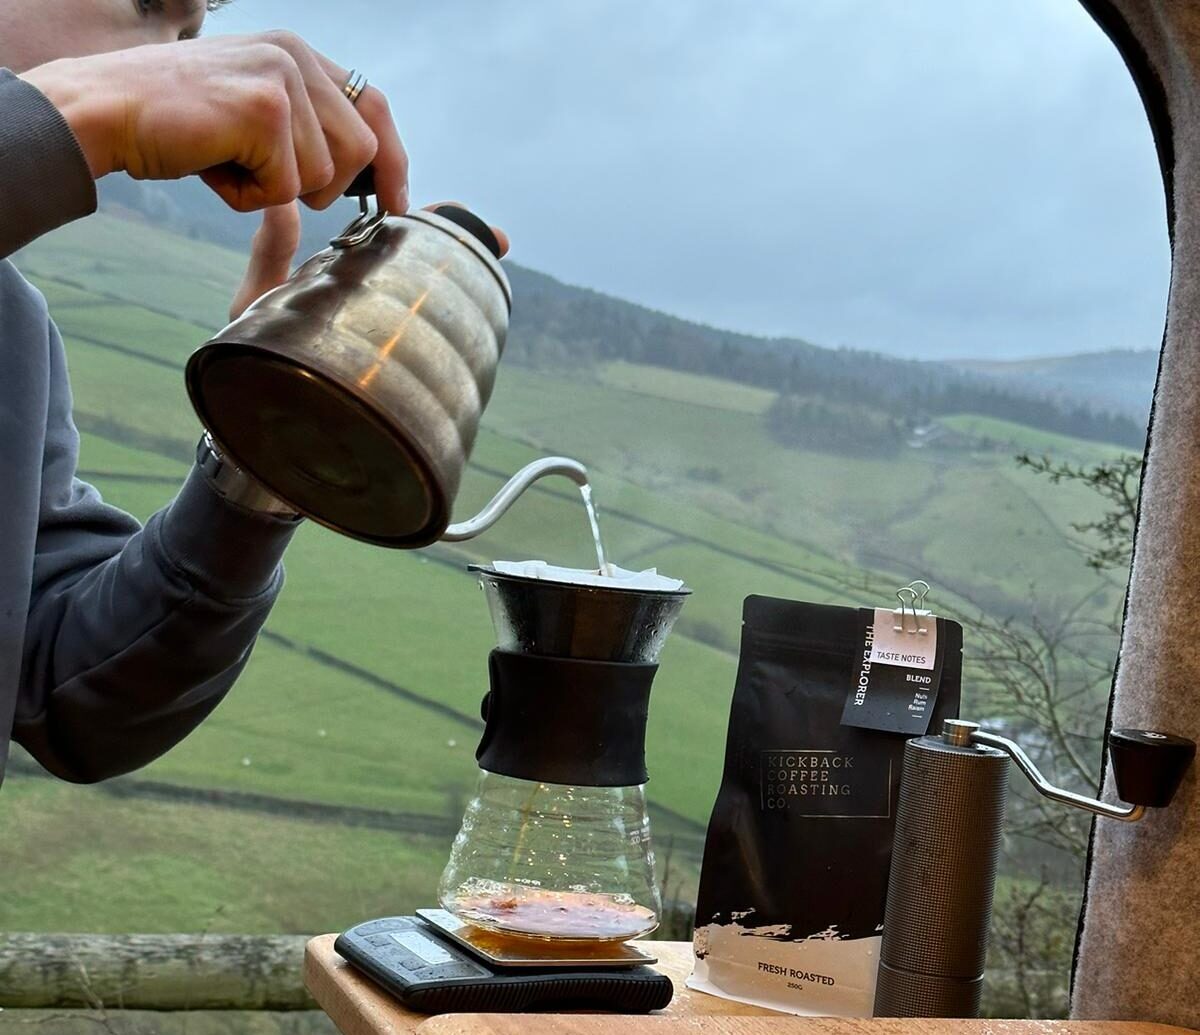
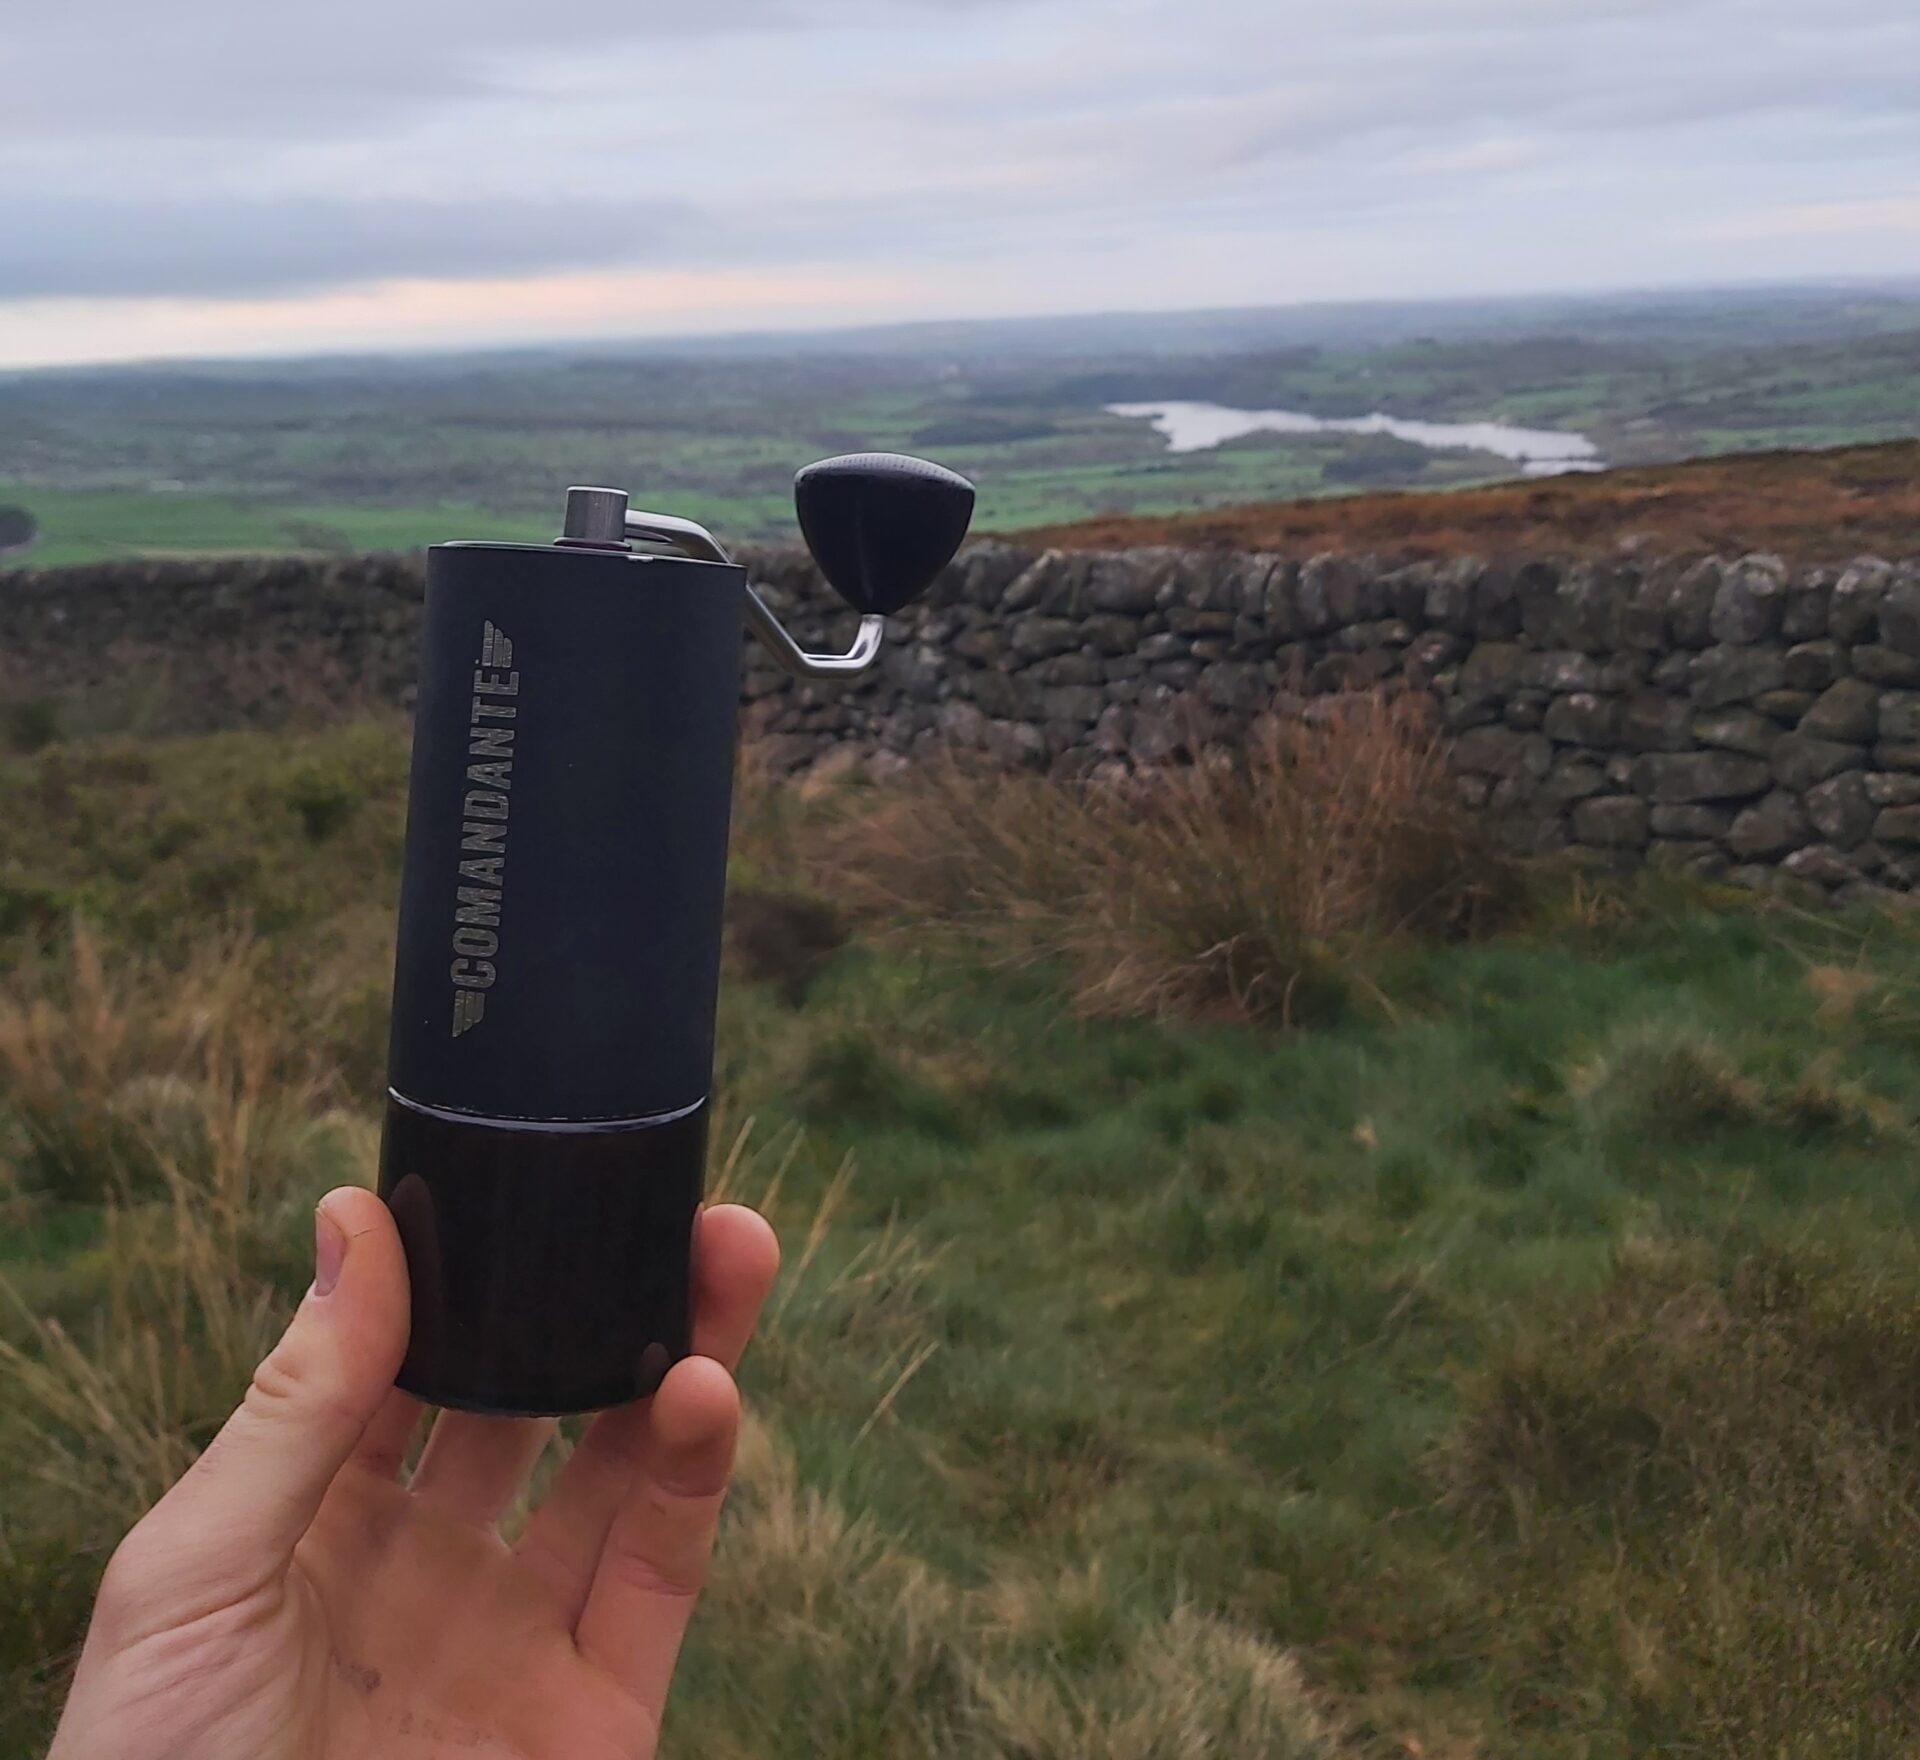
A brewer, a glass server, a set of scales (accurate to 0.1 of a gram), a mug, and your filters. Additionally, you may want to look at getting yourself a decent hand grinder such as the Madebyknock Aergrind (which I personally use).
V60 Brew Recipe
The Recipe I tend to use is 14 grams of medium-coarse ground coffee to 240 millilitres of water, and a total brew time of between 3:20 and 4:00 minutes.
- Pre-heat all of your equipment with boiling water
- Place a V60 filter into the brewer, and rinse with boiling water
- add 14 grams of medium-coarse ground coffee to your filter
- Pour 80ml of almost boiling water over the coffee in the first 5 seconds, then swirl to ensure all of the coffee is covered
- after 30 seconds or so, pour 80ml of water in a swirling motion over your coffee bed, to ensure the bed stays flat
- at 1:05, pour an additional 80ml of water confidently into the centre of the bed to bring the total to 240ml. Let this drain down for a total brew time of between 3:20 and 4:00 minutes
- swirl the brewed coffee in the server for aesthetic purposes, and to cool the coffee down slightly.
- Serve and enjoy!
One thing to note – try and brew your V60 on the flattest surface possible. This will help to extract your coffee more evenly, leading to a better-tasting coffee.
Be sure to film it and post it on Instagram so that everyone knows that you’re a pretentious coffee snob… Like me! 🙂
If you’d like to see my V60 brewing in action, check out our Youtube channel and watch this video…
(Like, subscribe, do all that stuff…)
Pros and cons of V60
As I said earlier, the V60 is a bit of a pain when it comes to portability. You’ll need to take multiple different pieces of equipment out on the road with you.
This gets especially difficult when you plan on taking your brewer with you out on the trails. V60s aren’t typically known for being the most practical brewer when it comes to fitting in rucksacks.
Additionally, the material that makes up the V60 server is often glass, which has a tendency to become a bit smashed when you hit a particularly deep pothole or deck it tripping over your untied boot laces. I’ve personally been through 3 different servers in the past 6 months due to very similar events…
(This is avoidable however if you store it properly in a cabinet where it is unlikely to move around, and drive less erratically. Alternatively, you can get a plastic V60 setup which is arguably better for van and rucksack travel as they are much lighter and more durable.)
The benefits in my opinion, however, make the pain of lugging a V60 around with you all worth it.
I always find that V60 coffee is much more enjoyable and tasty than any other brew method. It is pretty easy to get a perfectly balanced, sweet, full-bodied coffee, assuming you use decent speciality coffee, grind your coffee fresh, and brew it properly.
Some people prefer to walk instead of drive. Some people would rather read the book than watch the film. Some people would rather make coffee a little more tediously, take a little more time to enjoy the process, and reap the rewards of their efforts.
That last one is me. (also, the film is usually better than the book, don’t lie to yourself!)
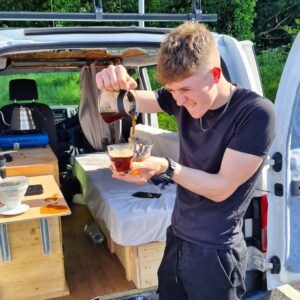
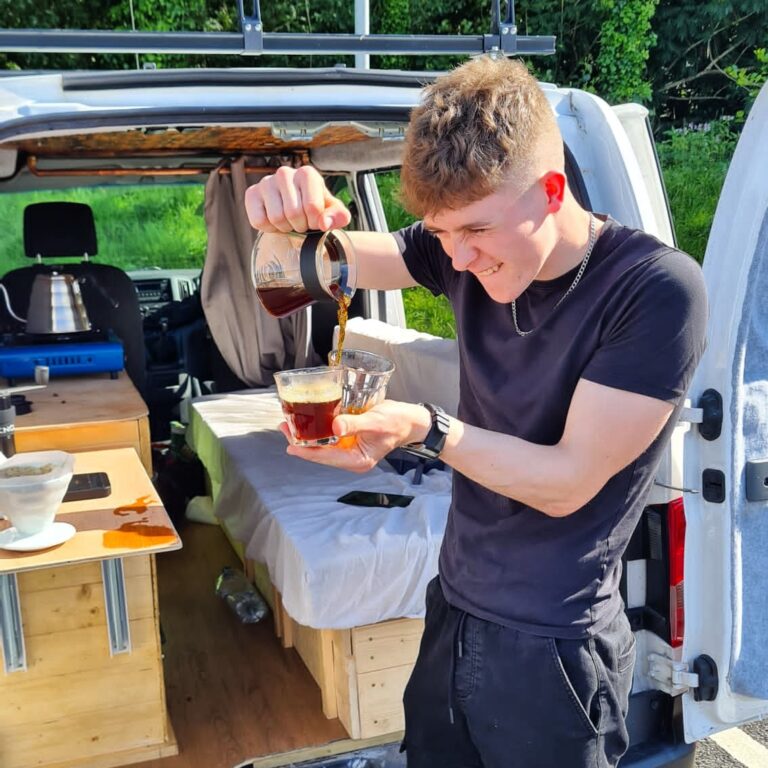
One of my favourite things to do is to drive up to someplace in the National parks, open up the sliding door of my van, stick some tunes on, and go through each of the steps of brewing a V60, methodically and obsessively, trying to get the best coffee possible.
After all that, you get to sit there, relax, and enjoy a world-class cup of coffee, with a beautiful view, often with good company to enjoy the experience with too.
I think this is why most people tend to get into Vanlife anyway – to chill out, and enjoy the passage of time with good company, in beautiful places… With coffee that makes your soul tingle ever so slightly.
That’s why I love the V60 so much… Plus, it looks cool.
So, which is better for Vanlife? V60 vs Aeropress?
Like most things in life, there isn’t one definitive answer. It all depends on what you want out of your brewer.
If you want something that will consistently give you decent coffee, is lightweight, portable, and small enough to fit in your cargo pockets, I would recommend the Aeropress Go.
It has everything you need to get brewing built into itself. No need to faff around finding all of your equipment. The only other things I would recommend for the Aeropress are a decent hand grinder to allow you to grind your coffee as fresh as possible, A set of scales accurate to 0.1 of a gram, and some way of boiling water on the go.
If you want something more stationary, something to keep in your van which allows you to take time to slow down and enjoy the process of brewing coffee, I wholeheartedly urge you to get a V60 setup.
Again, with the V60 you’ll also need to get yourself a decent hand grinder, a set of scales accurate to 0.1 of a gram, and some way of boiling water fresh.
The real benefit of these two products is their low price. You can grab an Aeropress Go and a V60 setup for around £60 in total! And then you’re all set to enjoy decent coffee, anytime, anywhere!
Do you know of any other portable brewers for hiking/vanlife? Leave a comment below this post and we’ll chat about it!


2 Responses
Not necessarily, I think black coffee is such an umbrella term – Personally I think that V60 is better for me because I enjoy the whole routine of preparing and brewing V60 compared to Aeropress. However, If I am out on a hike, I feel that the convenience of the Aeropress (specifically the Go) makes it a better choice. I suppose it mostly depends on time and convenience at the end of the day…
Cheers for the comment mate!